Camera Path Tab
The Camera Path tab lets you create automated camera flyover paths for cinematic city tours.
Overview
Camera paths allow you to:
- Create waypoints (checkpoints) on your city grid
- Configure altitude, heading, and timing for each checkpoint
- Play automated flyover sequences in the 3D scene
- Control connected scenes remotely
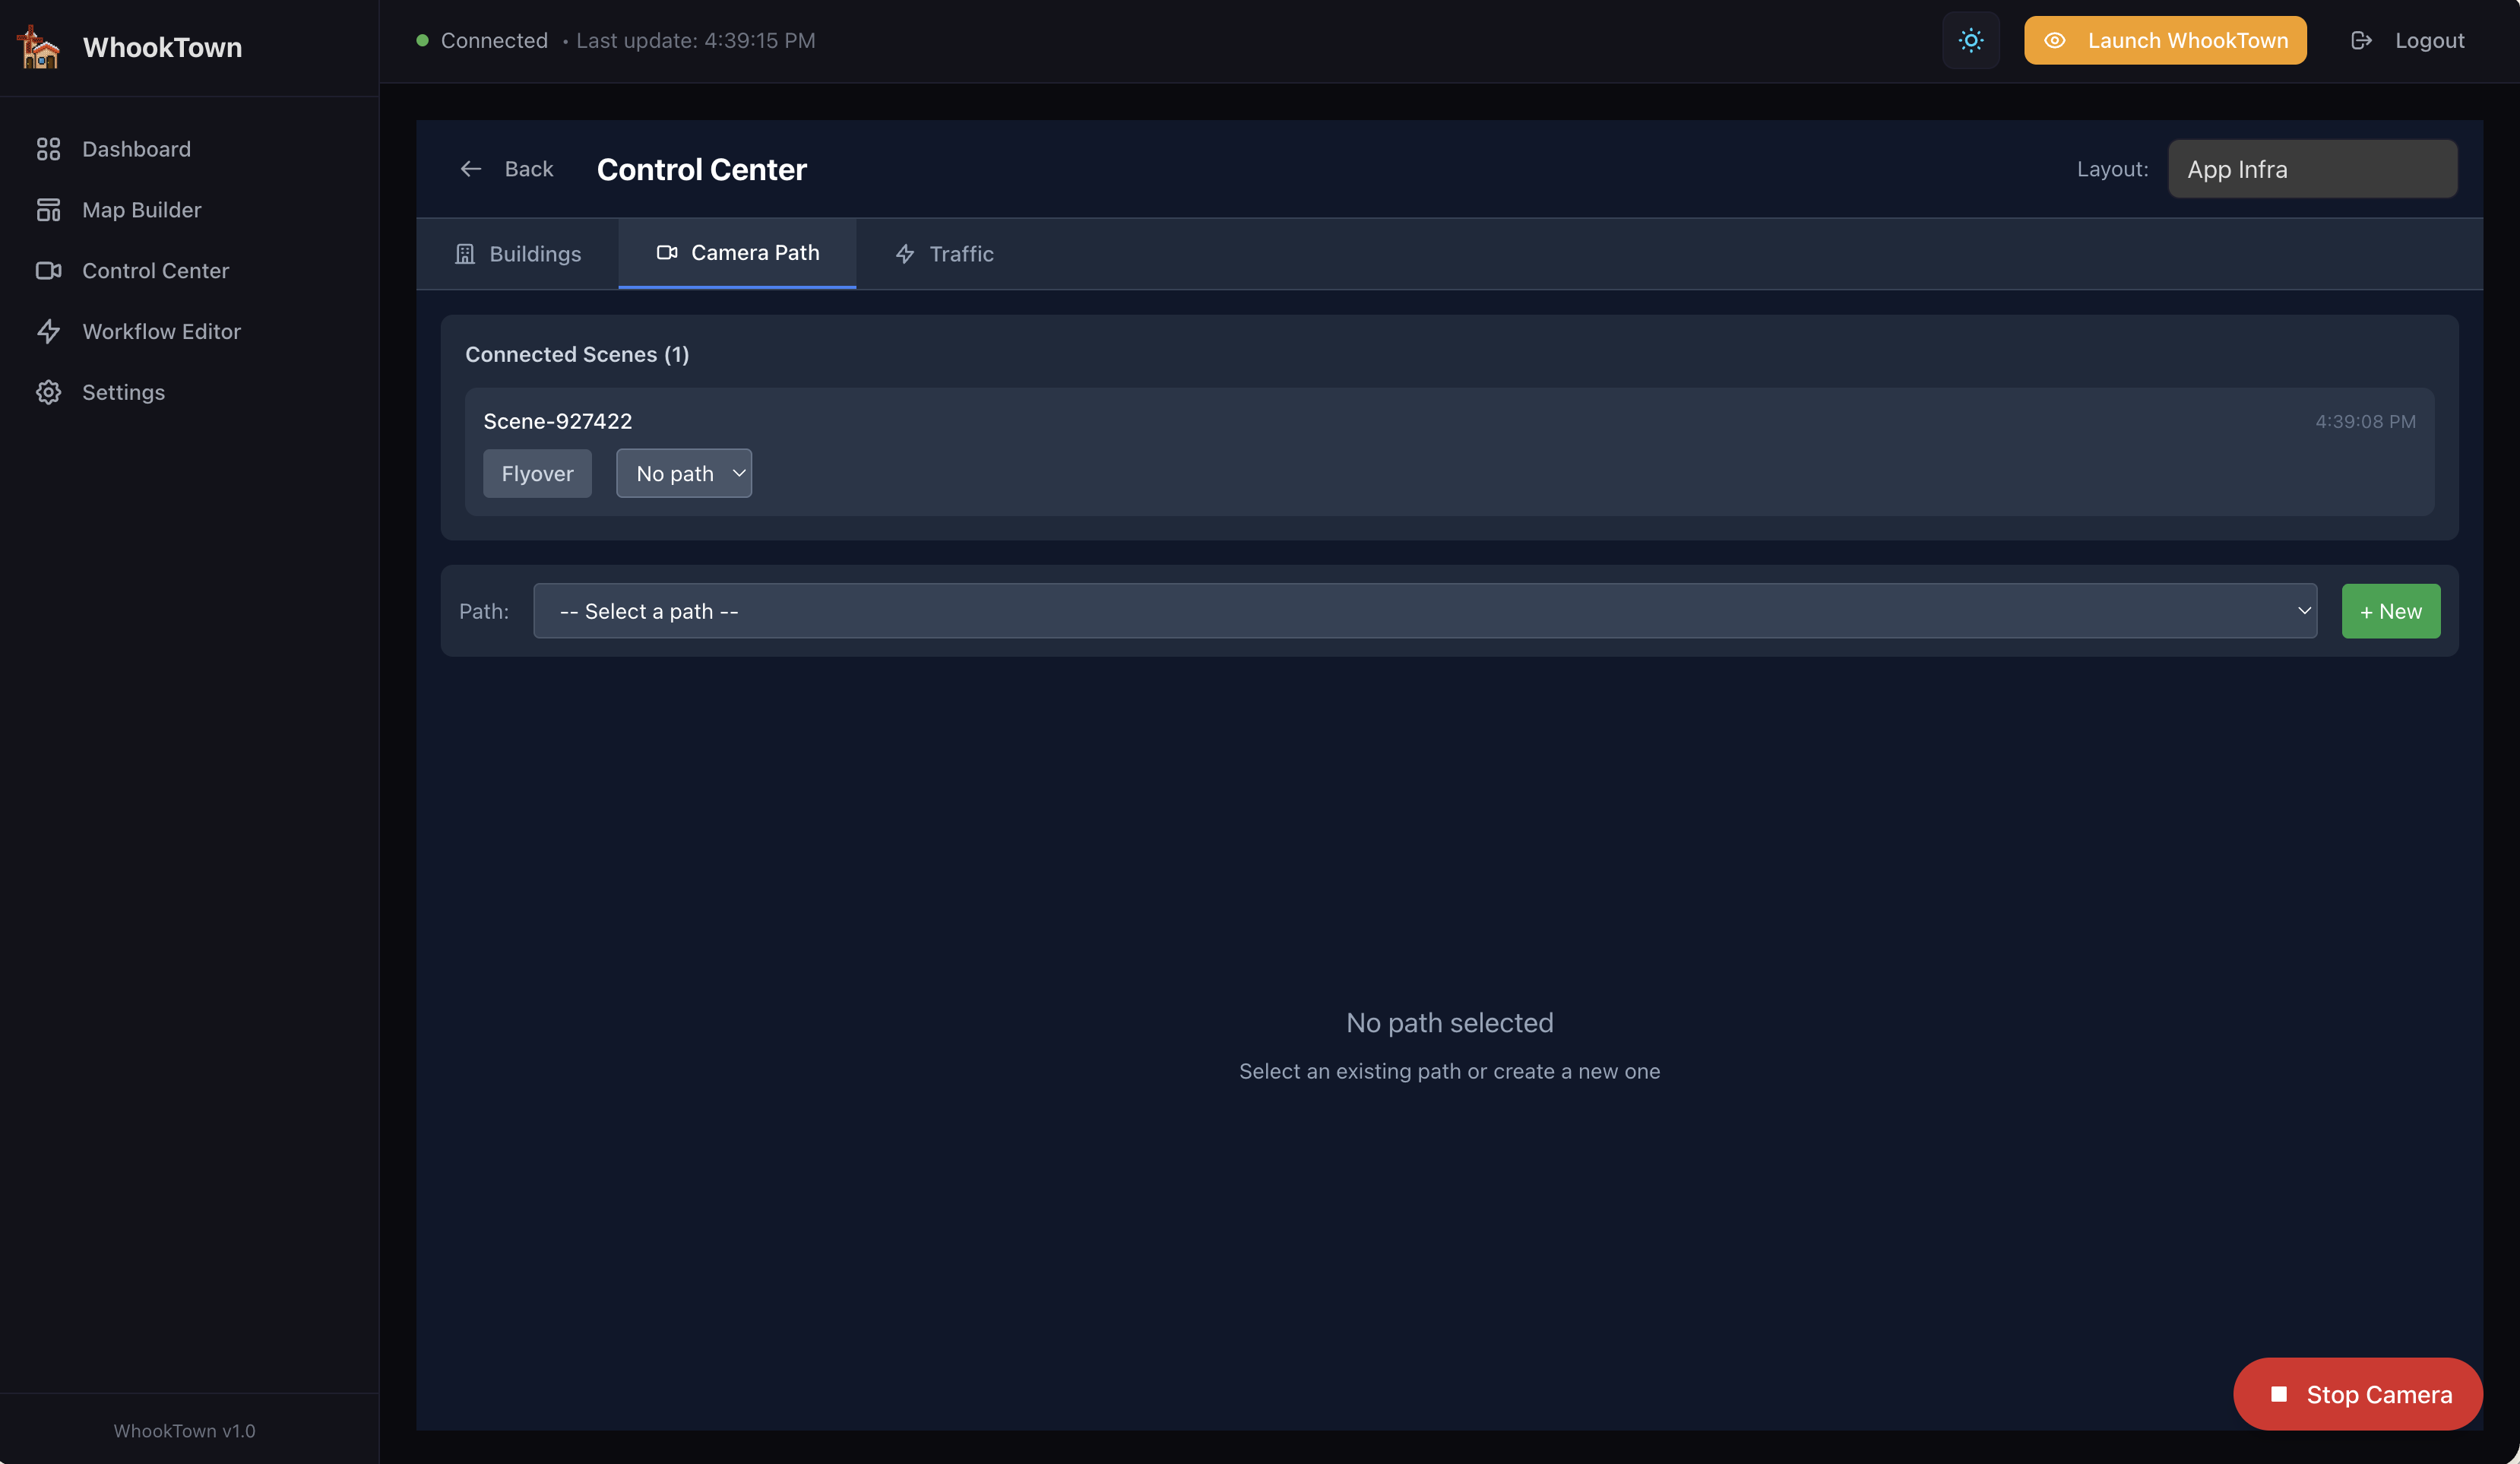
Connected Scenes
The top section shows all 3D scenes currently connected to this layout:
| Field | Description |
|---|---|
| Scene ID | Unique identifier (e.g., "Scene-927422") |
| Mode badge | Current camera mode (Orbit/FPS/Flyover) |
| Path dropdown | Currently active path |
| Timestamp | Last heartbeat time |
| Flyover toggle | Enable/disable flyover mode |
| Speed slider | Adjust flyover speed (0.5x to 5x) |
Scene Heartbeat Monitoring
The system tracks real-time connectivity for each scene:
- Scenes send heartbeats every few seconds
- The timestamp updates with each heartbeat
- If no heartbeat is received for 60+ seconds, the scene is marked as potentially stale/disconnected
- This helps identify viewers that may have lost connection
Multiple viewers
Multiple people can view the same layout simultaneously. Each appears as a separate connected scene.
Path Management
Creating a Path
- Click the + New button
- Enter a name for the path
- Click Create
Selecting a Path
Use the Path dropdown to select an existing path for editing.
Deleting a Path
Select a path and click the delete button (trash icon).
Checkpoint Grid

The grid represents your city layout. Click on cells to add checkpoints:
- Click a cell to add a checkpoint at that location
- Checkpoints appear numbered in sequence (1, 2, 3...)
- The camera will visit checkpoints in order during playback
Checkpoint Properties
For each checkpoint, configure:
| Property | Description |
|---|---|
| Altitude | Height above ground (slider) |
| Heading | Camera facing direction (compass: N, NE, E, SE, S, SW, W, NW) |
| Tilt | Vertical camera angle (-90° to +90°) |
| Zoom | Field of view (30-120°) |
| Transition | Time to reach this checkpoint from previous (seconds) |
| Hold | Time to pause at this checkpoint (seconds) |
Reordering Checkpoints
Drag checkpoints in the timeline to reorder them.
Removing Checkpoints
Click the delete button on a checkpoint to remove it.
Path Timeline
The timeline at the bottom provides visual feedback for your path:
Timeline Display
- Checkpoints appear as numbered circles in sequence
- Blue segments represent transition time between checkpoints
- Green segments represent hold/pause time at checkpoints
- Total estimated duration is displayed (e.g., "12.5s total")
Timeline Interaction
- Click a checkpoint circle to select it for editing
- The selected checkpoint is highlighted
- Drag checkpoints to reorder them
Loop Option
Each path has a Loop toggle:
- Enabled: Path repeats continuously after reaching the last checkpoint
- Disabled: Camera stops at the last checkpoint
Loop mode is useful for:
- Monitoring displays that need continuous camera movement
- Presentations that cycle through different views
- Wall-mounted screens showing ongoing city overview
Flyover Playback
Starting Flyover
- Select a path with checkpoints
- Click the Flyover button on a connected scene
- The camera begins following the path
Stopping Flyover
Click the floating red Stop Camera button in the bottom-right corner.
Flyover Behavior
During flyover:
- Camera smoothly transitions between checkpoints
- Uses Catmull-Rom curve interpolation for smooth motion
- Respects altitude, heading, and timing settings
- Can enable free-look (click to look around while flying)
Camera Modes
The dropdown on each connected scene shows the current mode:
| Mode | Description |
|---|---|
| Orbit | Standard rotation around city center |
| FPS | First-person walking mode |
| Flyover | Automated path following |
You can switch modes remotely by selecting from the dropdown.
Use Cases
Demo Presentations
Create a smooth tour of your infrastructure:
- Start at an overview position (high altitude)
- Descend to feature important buildings
- Circle around key areas
- End at a dramatic angle
Monitoring Displays
Set up a looping path for wall displays:
- Create checkpoints covering all critical areas
- Set appropriate hold times
- Enable loop mode
- Leave running on a dashboard screen
Incident Response
Quickly navigate to problem areas:
- Create presets for critical zones
- Save camera positions
- Jump directly when alerts trigger